Adding the Start and End dates to course calendar
Steps to add the Start and End dates for a quiz, assignment, discussion topic or a content item to the course calendar.
One of the good teaching practices is to emphasize time on task. Adding Due dates as well as Start and End dates for assignments and content items in course calendar so that they will display on the "Course Schedule" page to remind students and keep them on track.
The due dates will be added to the course calendar and the "Course Schedule" page automatically. However, for start and end dates to be shown on the course calendar and "Course Schedule" page, you will need to set them up. Follow the steps in the respective tutorials below to enable the Start and End dates appear on the "Course Schedule" page.
Adding Start and End dates for Assignments
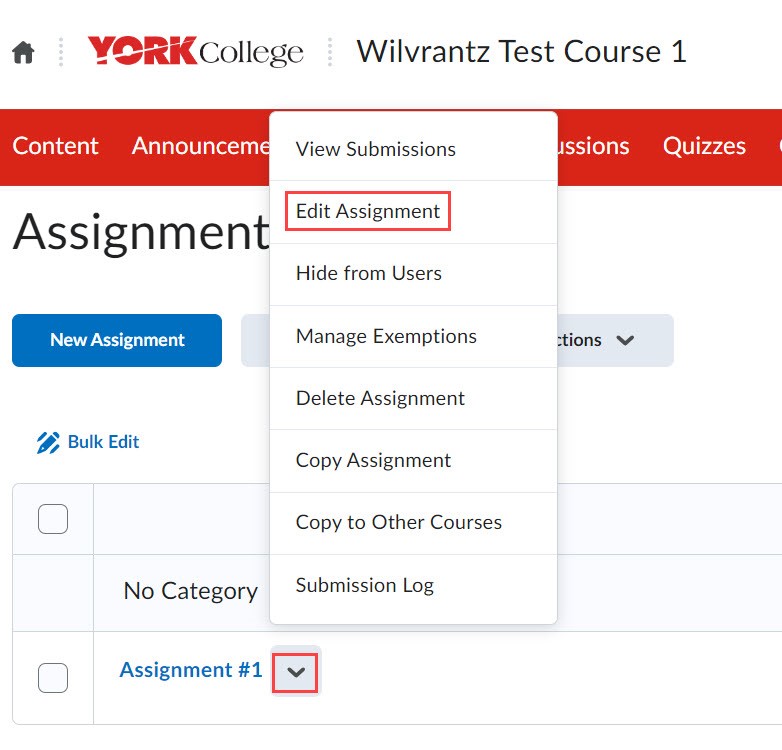
1. Go to the Assignments page. Then, next to your assignment name, click on the down arrow and select "Edit Assignment."
2. On the assignment page, enter a due date.
3. Click "Availability Dates and Conditions" to expand the panel.

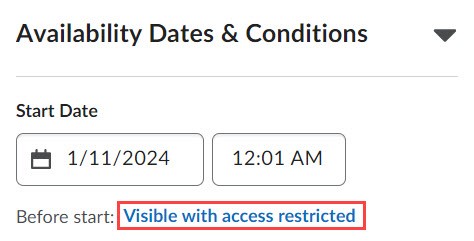
4. Fill in a Start Date and Time. Then click "Visible with access restricted" link.
5. On the pop-up window, check the box for "Add availability dates to Calendar."
In addition, you can choose the visibility of the assignment before the start date among 3 options:
- Visble with access restricted, meaning that students can see the assignment name but cannot access it.
- Visible with submission restricted, meaning that students can access this assignment and see instructions but cannot submit it.
- Hidden, meaning that students can't see the assignment at all.

6. Click Done.
7. Repeat steps 4 and 5 for the End Date and Time. You can set the End date the same as the Due date.
Now the Due date, Start and End dates for this assignment will appear in the "Course Schedule" page.

Adding Start and End dates for Quizzes
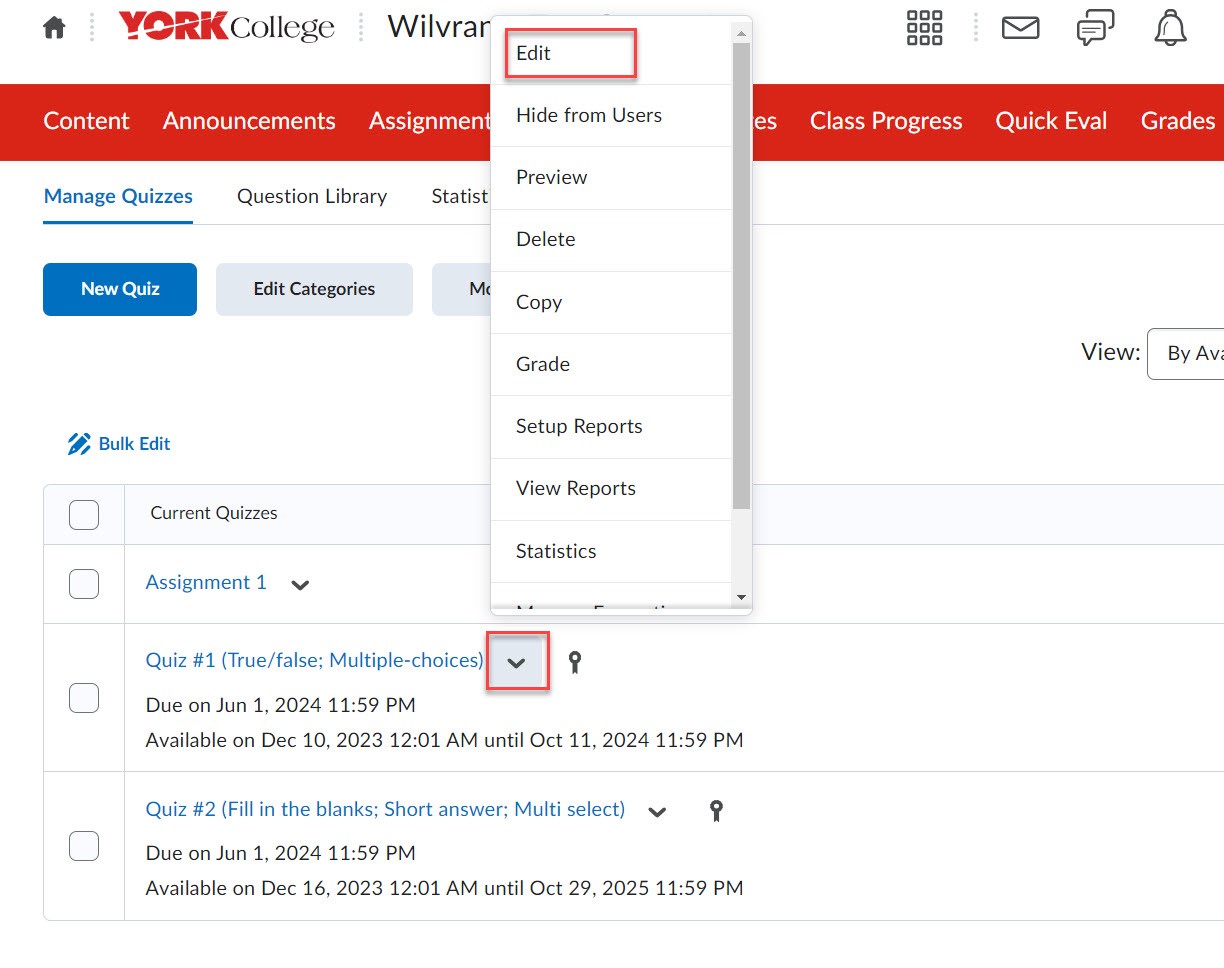
1. Go to the Quizzes page. Then, next to your quiz name, click on the down arrow and select "Edit."
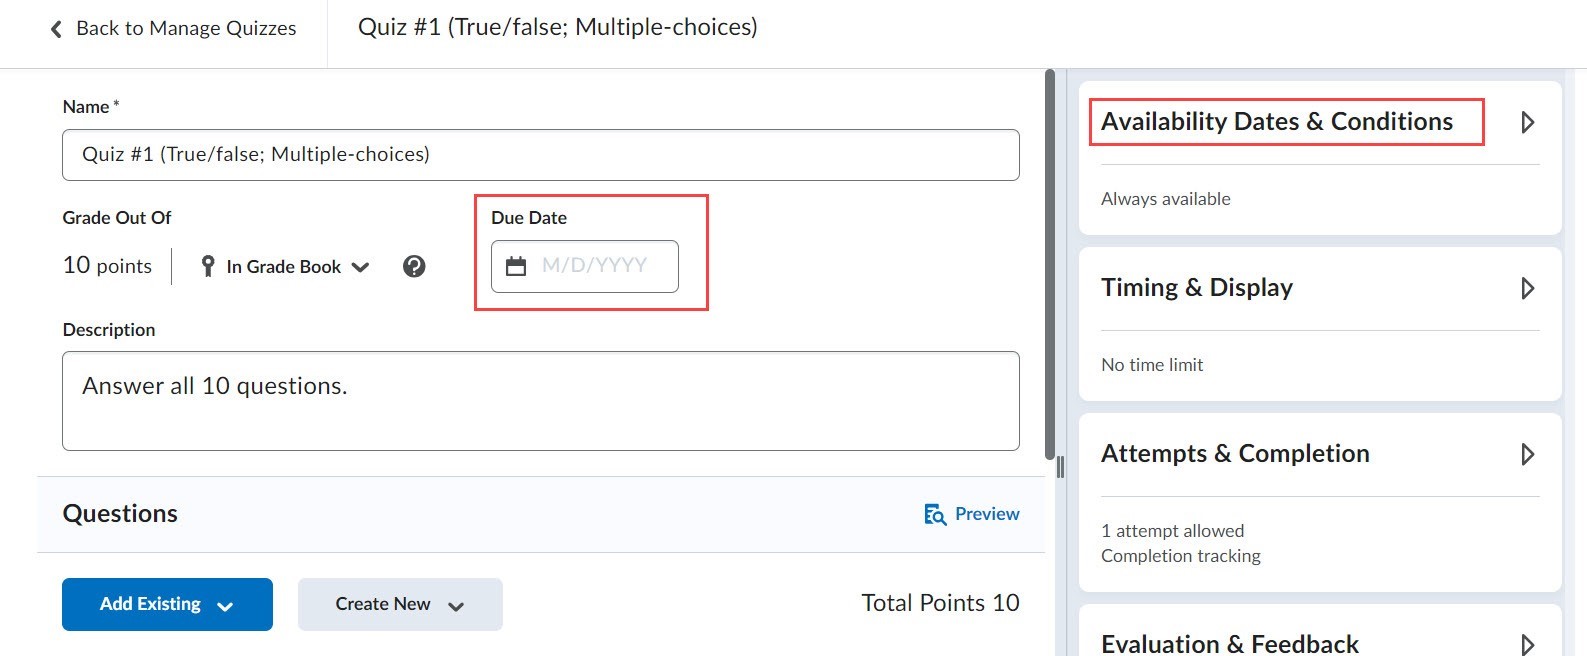
2. On the quiz page, enter a due date.
3. Click "Availability Dates and Conditions" to expand the panel.
4. Fill in a Start Date and Time and a End Date and Time. Check the box for "Add availability dates to Calendar."

Now the Start and End dates as well as the Due date appear in the "Course Schedule" page.

Adding Start and End dates for Discussion Topics
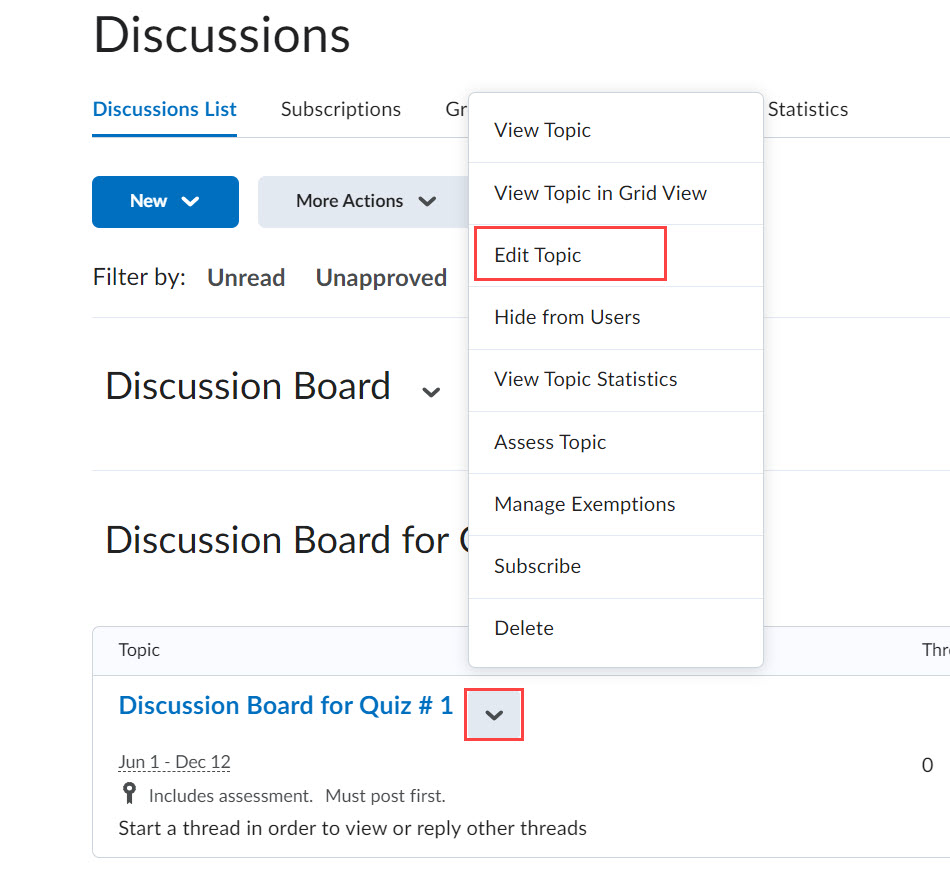
1. Navigate to the Discussions page and click on the down arrow next to your discussion topic. Then select "Edit."
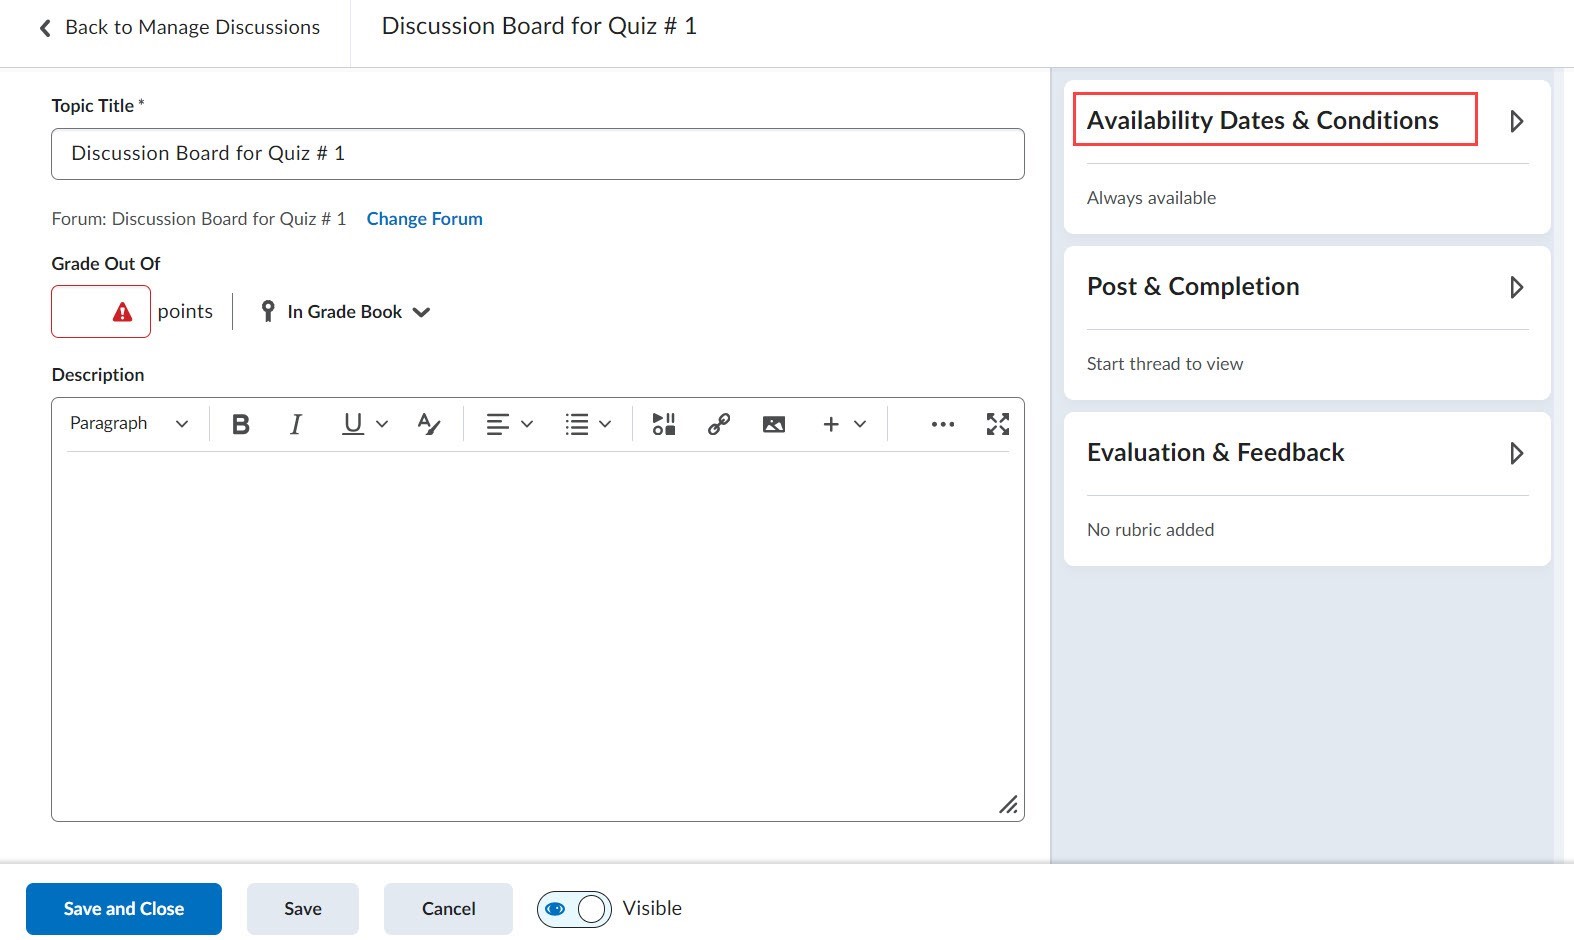
2. On the discussion topic page, click "Availability Dates & Conditions" to expand it.
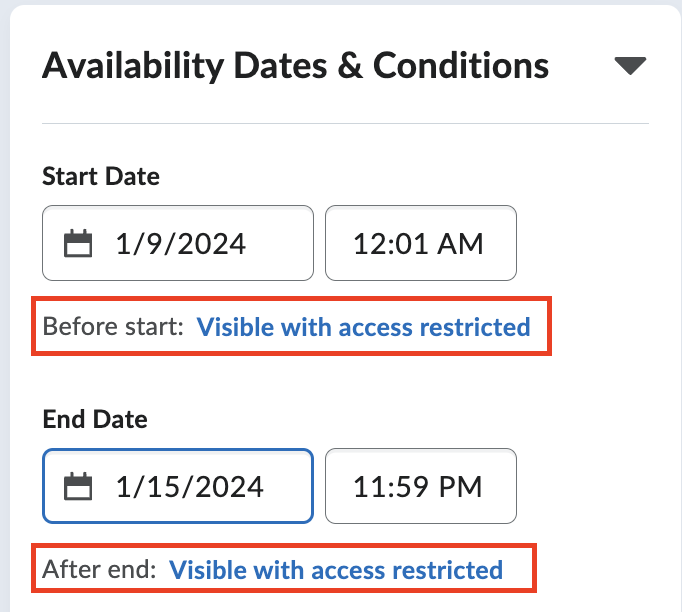
3. Fill in a Start date and time. Immediately you will see "Before start: Visible with access restricted" appears under the Start date and time. Click the "Visible with access restricted" link next to "Before Start."
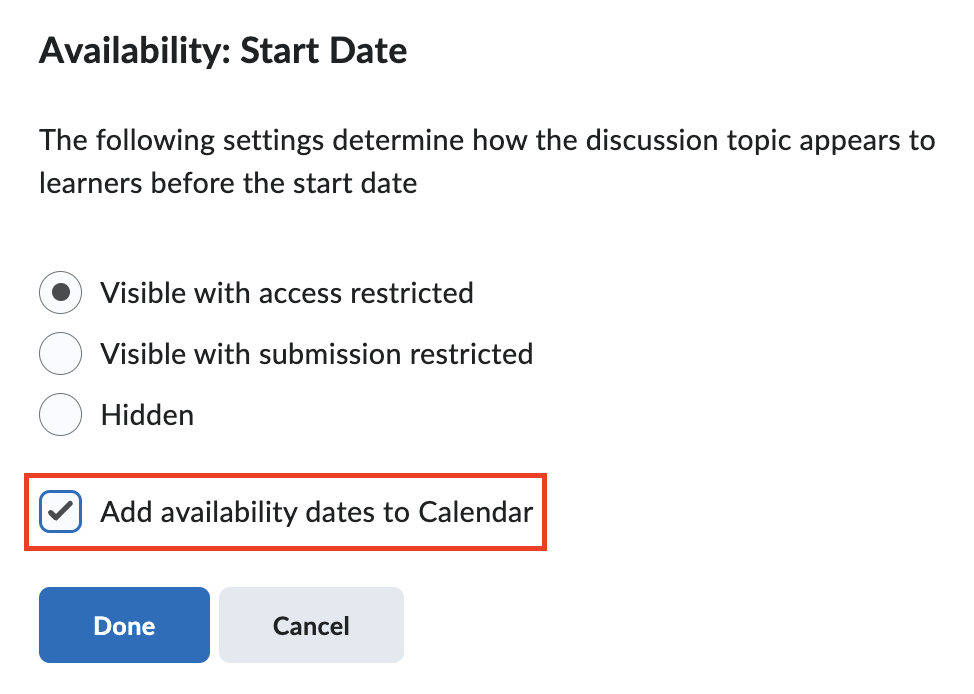
4. A pop-up window appears. Check the box for "Add availability dates to Calendar."
In addition, you can choose the visibility of the discussion topic before the start date among 3 options:
- Visble with access restricted, meaning that students can see the discussion topic name but cannot access it.
- Visible with submission restricted, meaning that students can access this discussion and see instructions but cannot create any thread/post.
- Hidden, meaning that students can't see the discussion topic at all.
Click the Done button after you complete the settings on this panel.
5. Repeat steps 3 and 4 for the End date.
Now both Start and End dates will appear in the course calendar and "Course Schedule" page.
Adding Start and Due dates for a weekly module
Adding a Start date and a Due date for a weekly module enables them to appear under the module name in course content section and on the Course Schedule page. It helps students see when they should work on that module.
To add a Start date and a Due date for a content module, follow the steps below.
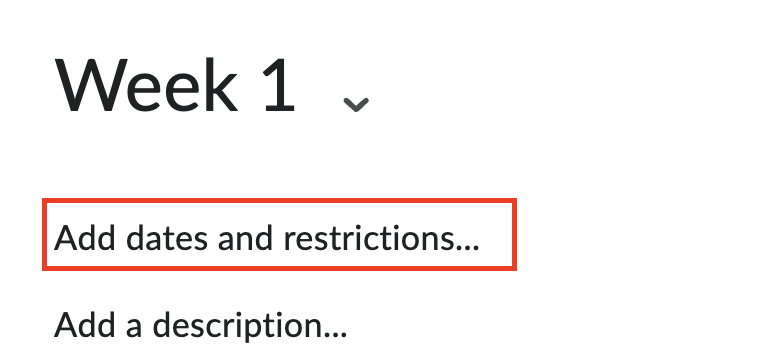
1. Go to that module page. Click on "Add dates and restrictions."
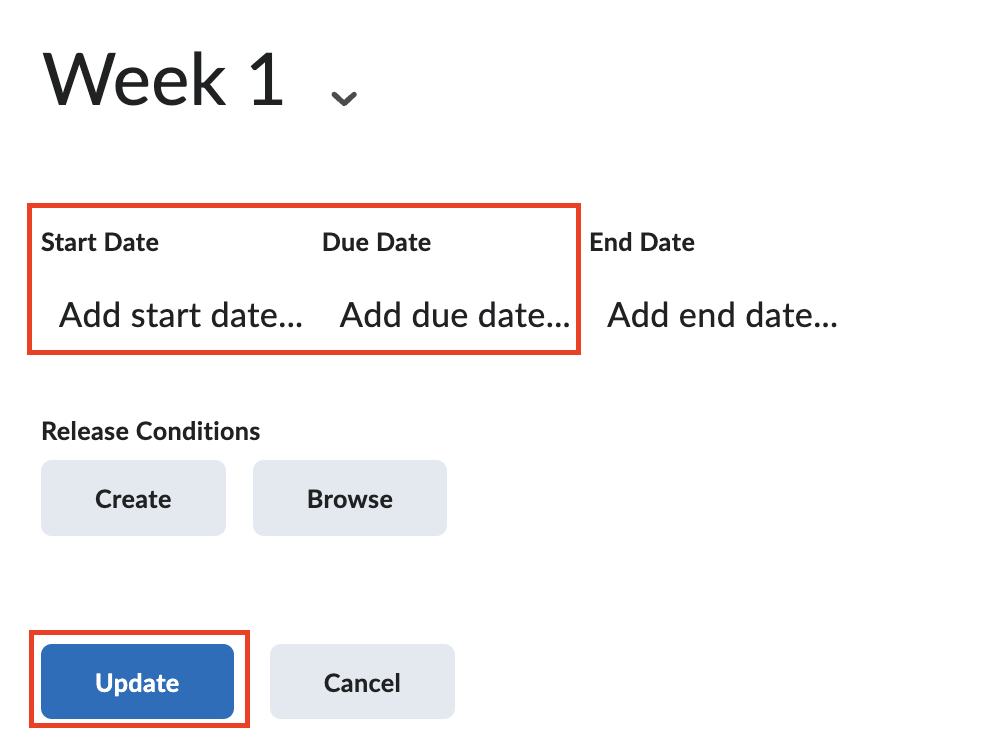
2. Fill in a Start Date and a Due date, then click the Update button. We do not recommend adding an End date as the module should be available to students until the end of the semester.
Below is how the module Start and Due dates appear in the course content section.
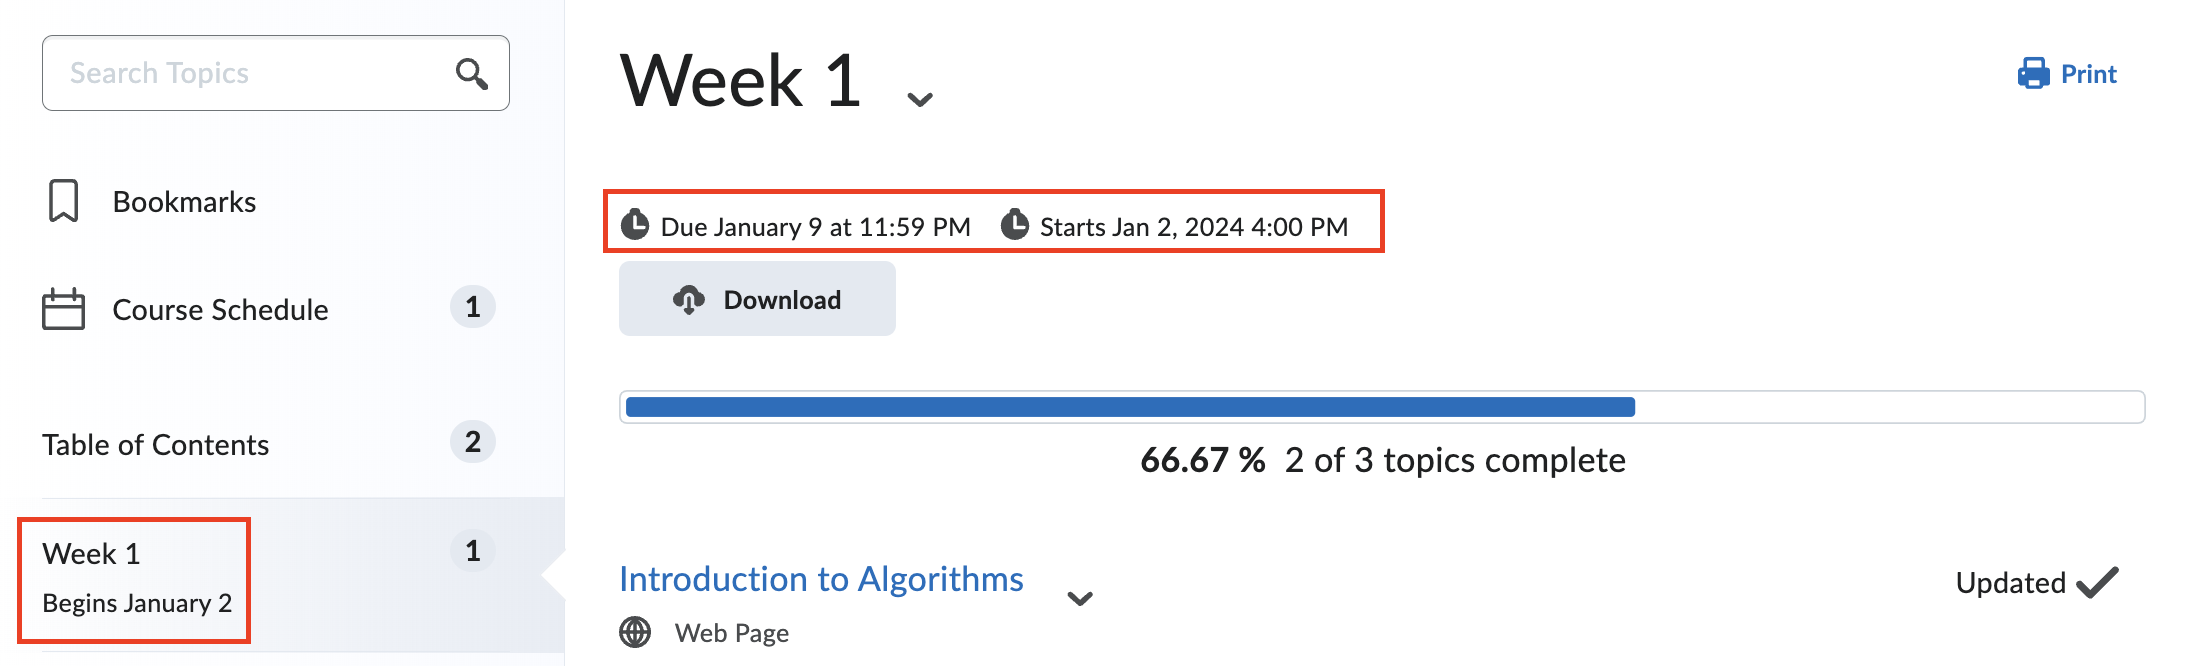
Below is how the module Start and Due dates appear in the "Course Schedule" page.

Revised: January 25, 2024
York College / CUNY
94 - 20 Guy R. Brewer Blvd.
Jamaica, NY 11451
P: 718-262-2000