How to set up study groups for group conferencing in Bb
This is a tutorial for students on how to create study groups and join group meeting rooms.
Do you miss the opportunity to study with peers in your face-to-face classes? Do you know that you can also do it online? For example, you can schedule a Bb Collaborate session in your course and ask your classmates to join if they are interested in the topics you want to discuss or study. You can also have a study group and have weekly group meetings online in Bb Groups' Collaborate Room. This tutorial will guide you step-by-step to create Bb groups and use the group Collaborate Room for online meet-ups with your classmates.
- If you want to create a meet-up study group, follow the steps in I and II.
- If you want to join a study group meeting in the group collaborate room, scroll down to follow the steps in III.
I. Creating Your Group
- On your course menu, click the Groups link.

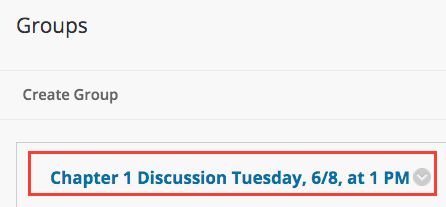
- Click "Create Group."

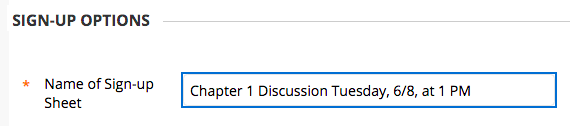
- On the "Create self-enrollment group" page, fill in a meaningful name including date and time. For example, if you want to discuss Chapter 1 topics on Tuesday, 6/8, at 1 PM, your group name could be "Chapter 1 Discussion Tuesday, 6/8, at 1 PM." If you want to study with some classmates weekly at a specific time, you can create a group with the name "Friday 2 pm study group" that meets every Friday in the group Collaborate Room.

- Fill in a description about what you would like to do in the group meeting in the Description text box.
- Use the group name for the "Name of Sign-up Sheet."
- If necessary, type in your requirements in the "Sign-up Sheet Instructions" box.
- Fill in "Maximum Number of Members" in the box. If you do not fill in any number, there will be no limit on the number of classmates who can sign up.

- Click Submit. Your group is created. If you want to modify the group name or description, click the down arrow on the right of the group name, then click Edit.
II. Informing Your Classmates
- On your course menu, click "Send Email."
- On the "Send Email" page, click "All Users."
- Type in a title, we recommend that you use your group name as the title.
- Fill in a message with a description of your meeting and ask your classmates to come if they are interested. Tell them to join your group meeting from the course Groups page.
- Click Submit button at the bottom right to send the message.
III. Joining the Group Meeting
- On the course menu, click the Groups link.
- Under the group you want to join, click the "Sign Up" button.
- On the "Sign Up Sheet" page, click "Sign Up."

- Now you are in the group.
- Click Collaborate on the "Group Tools" panel.

- At the time when the group meeting starts, click "Join Room" on the right. You are in the group meeting now.

Revised: January 21, 2026
York College / CUNY
94 - 20 Guy R. Brewer Blvd.
Jamaica, NY 11451
P: 718-262-2000