Setting up your Syllabus in your BrS courses
This is a faculty tutorial on how to add and edit a digital Syllabus to a course's Content in Brightspace (BrS).
We call Syllabus with capital S a syllabus created with the Simple Syllabus tool that York College adopted for use in all courses.
If you already used the Simple Syllabus tool and had a Syllabus in Bb
Deleting a migrated Bb-specific link that no longer works in BrS
If you already had your digital Simple Syllabus for your course in Bb and have migrated materials to this course in BrS, you will find a link to your Syllabus in the Syllabus Content area of BrS. This link is a Bb-specific link and does no longer work in BrS.
You will need to delete this link before adding a new link that works in BrS.
1. Log into Brightspace and select your course.
2. In your BrS course, click on the Content tab in the red navigation bar.
3. Under "Table of Contents" click on your Syllabus module.
4. Click on the action button on the right of the eSyllabus link then on "Delete Topic".

5. Under "Delete Topic," select the radio dial called "Permanently delete both the topic from Content and the associated file or activity from the course." This will NOT delete any content in your previously created eSyllabus. Then click Delete.

To add the BrS link to your eSyllabus, follow the instructions below from step 3 on.
Adding a Syllabus to BrS
Skip to step 3 below if you already have a Syllabus module in the Content area.
1. Log into Brightspace and select the course where you would like to add the Syllabus.
2. Click Content on the red navigation bar. Under "Table of Contents," click on Add a module, provide a name (e.g. "Syllabus & Course Schedule") and press ENTER (Windows) or RETURN (Macs) on your keyboard.
3. Hover to Existing Activities, then External Learning Tools.

4. Scroll down using the vertical scrollbar and select the Simple Syllabus-York tool. A link to your course's Syllabus as well as a default description will now appear in the module.

5. To change the default name and to delete or edit the default description, click on "Bulk Edit".

6. Click Done Editing to confirm the changes.
From now on the new link will copy over to all future iterations of this course.
Editing your Syllabus
Clicking on the newly created link will open your course's Syllabus document on the Simple Syllabus platform where you can edit it. The document contains instructions for completing your Syllabus.
As any edit is saved, you can complete your Syllabus in more than one session without losing work. You can only submit your Syllabus when you have completed all required components.
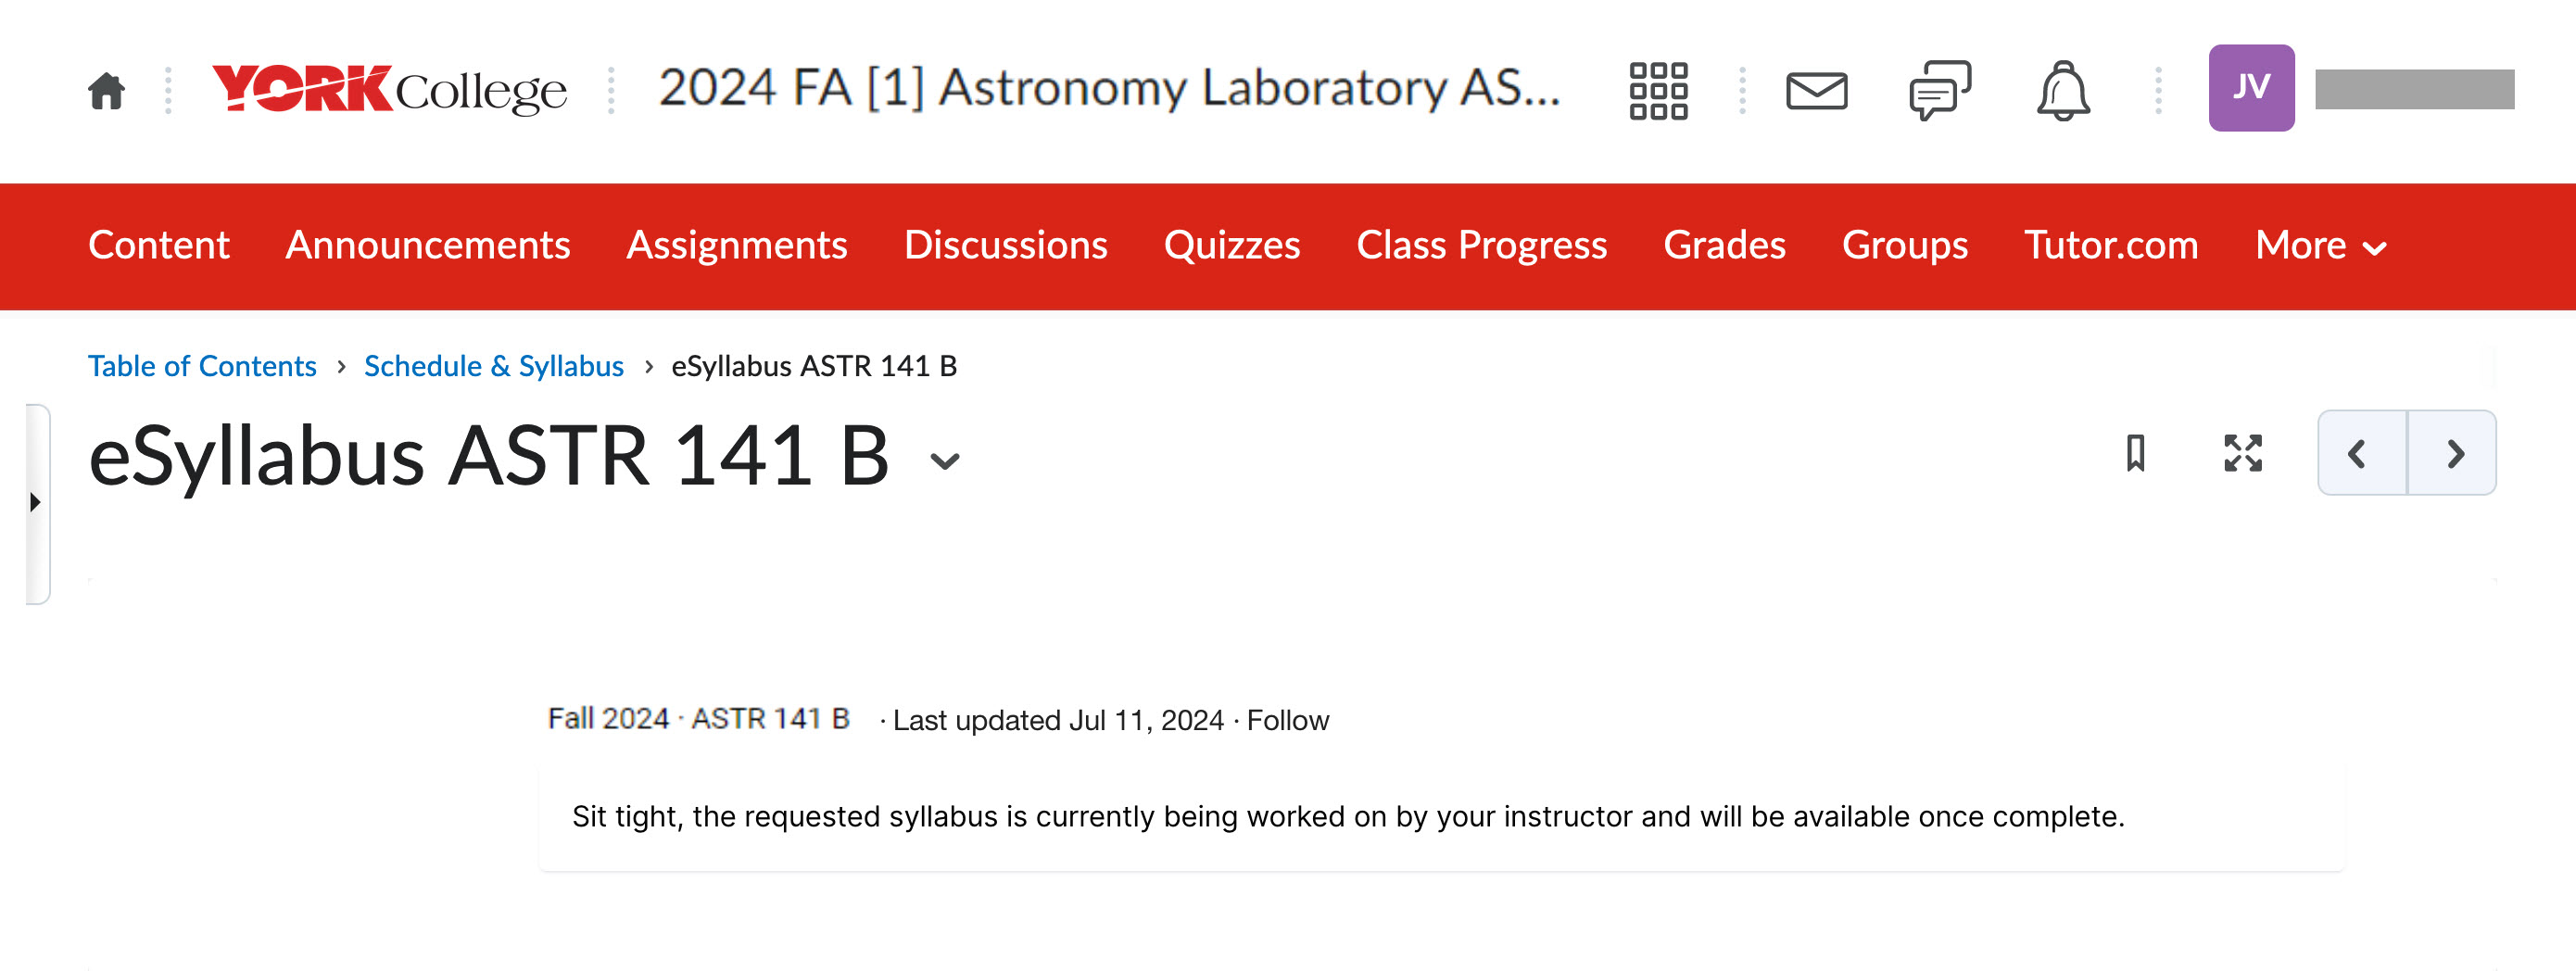
If you did not complete your Syllabus and were therefore blocked from submitting it, your students will get a message when they click on the eSyllabus link: "Sit tight, the requested syllabus is currently being worked on by your instructor and will be available once complete.
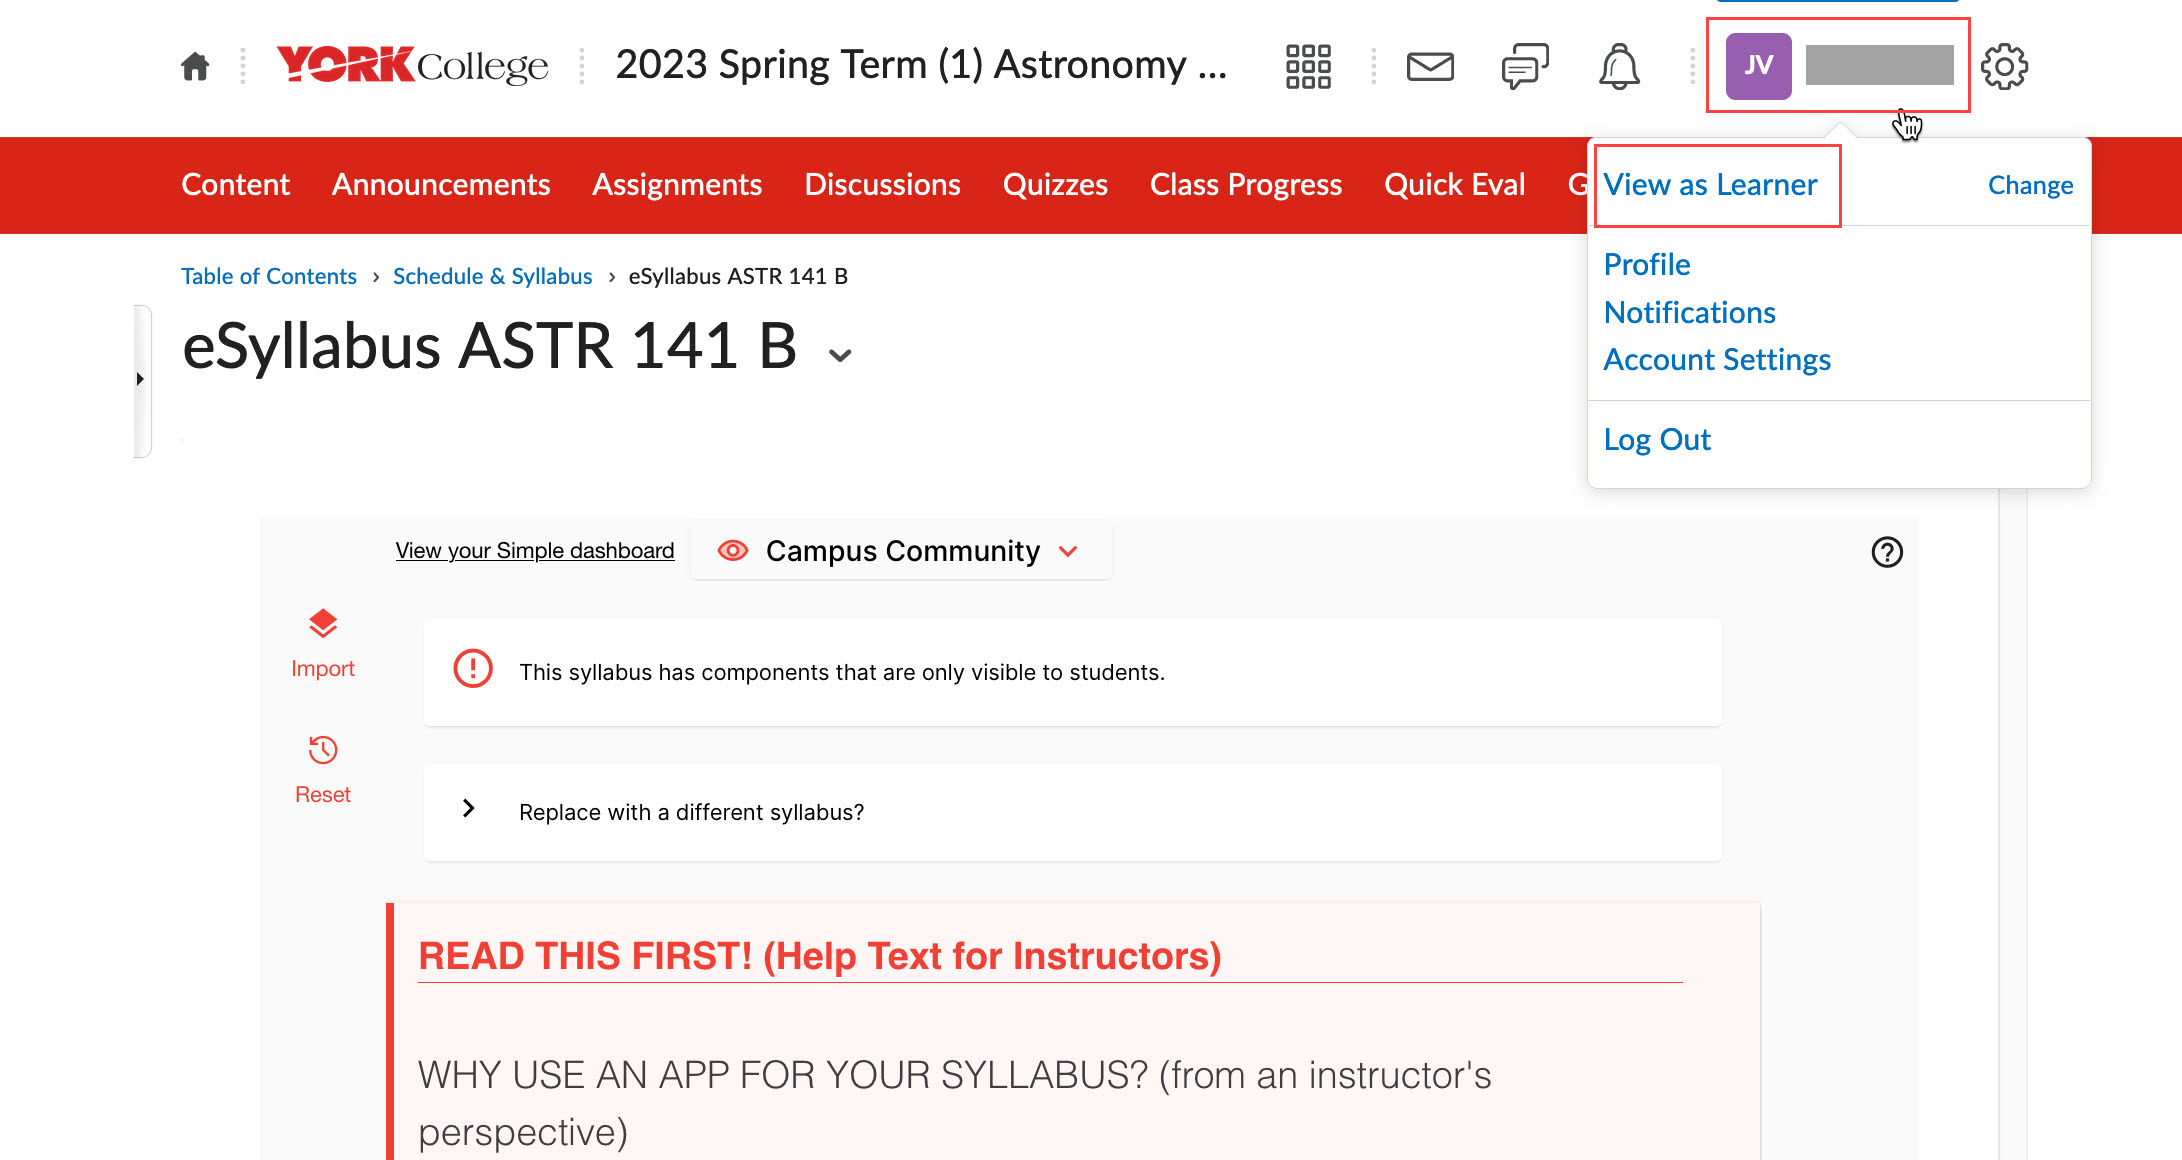
Viewing your Syllabus as a Learner
To see how your students see your Syllabus, click on your name in the upper right corner of your course's navigation bar then on View as Learner.
To exit View as Learner, click on the "X" next to it in the menu when you click on your name.

Revised: January 29, 2026
York College / CUNY
94 - 20 Guy R. Brewer Blvd.
Jamaica, NY 11451
P: 718-262-2000